Updating Outlook for Mac 2011 to connect to your Office 365 account
For Hofstra employees using OS X and Outlook for Mac 2011
This article applies to users updating Outlook for Mac 2011 to access their Hofstra employee e-mail account at its new location on Office 365.
If you need assistance, or have a question about this article, please call the Help Desk at 516-463-7777, or e-mail help@hofstra.edu.
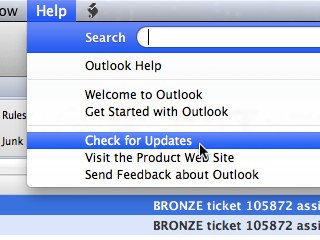
Before updating your settings for Office 365, you'll need to make sure your computer has the latest Outlook for Mac 2011 software updates.
Open Microsoft Outlook for Mac 2011.
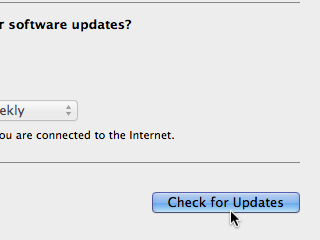
Select the Help menu, then click Check for Updates.
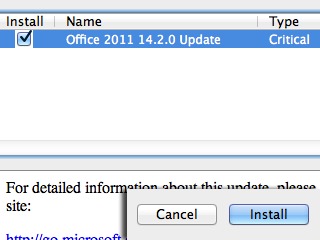
The AutoUpdater will connect to the Internet to determine what Microsoft software updates are required for your computer (if any).
If you see a message stating "there are no updates available," you can skip to step 7.
If updates are required, you'll see a list like the one at left.
Make sure the Install checkbox is checked for each update in the list, then click the Install button to continue.
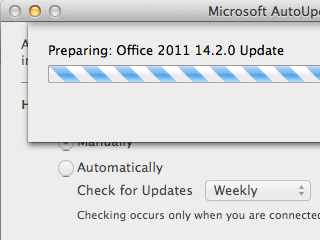
For each required update, you'll see a status bar as the update is downloaded and prepared for installation.
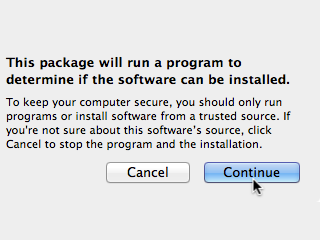
As each update is ready, its installer will launch.
Follow the prompts to install the update. You may be prompted to enter your user account (Mac password). If multiple updates are required, you may be prompted for your password for each.
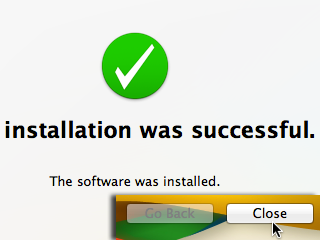
As each update installs successfully, you should see a success message like the one at left.
Click the Close button to close this message.
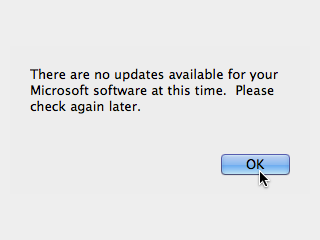
Once your computer has installed all required updates, you'll see the message at left.
Click the OK button.
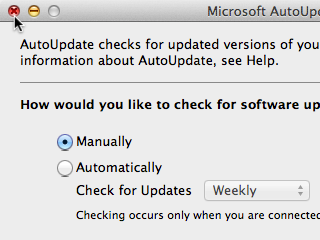
Click the red close button in the upper left-hand corner of the the Microsoft AutoUpdater to close it.
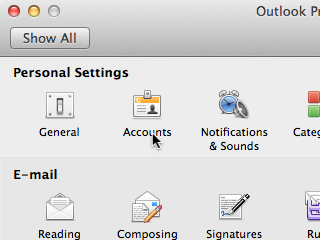
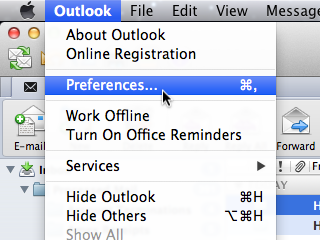
The Outlook Preferences window will open.
Under the Personal Settings heading, click Accounts.
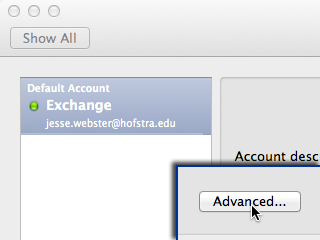
The Accounts window will open
On the left-hand side of this window, find your Hofstra employee e-mail account in the list and select it. Typically this account is named "Exchange" or "Hofstra," but yours might have a different name.
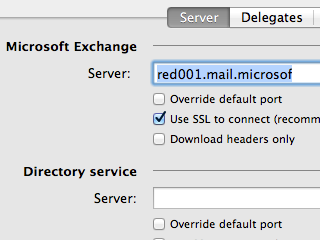
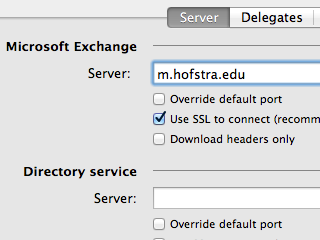
On the lower right-hand side of this window, click the Advanced button.
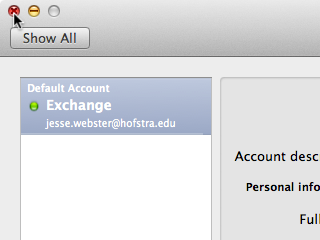
Click the red close button in the upper left-hand corner of the the Accounts window to save the change and close the window.
Your Outlook account is now updated for Office 365. You can access your mail, calendars, contacts and other items using Outlook.
